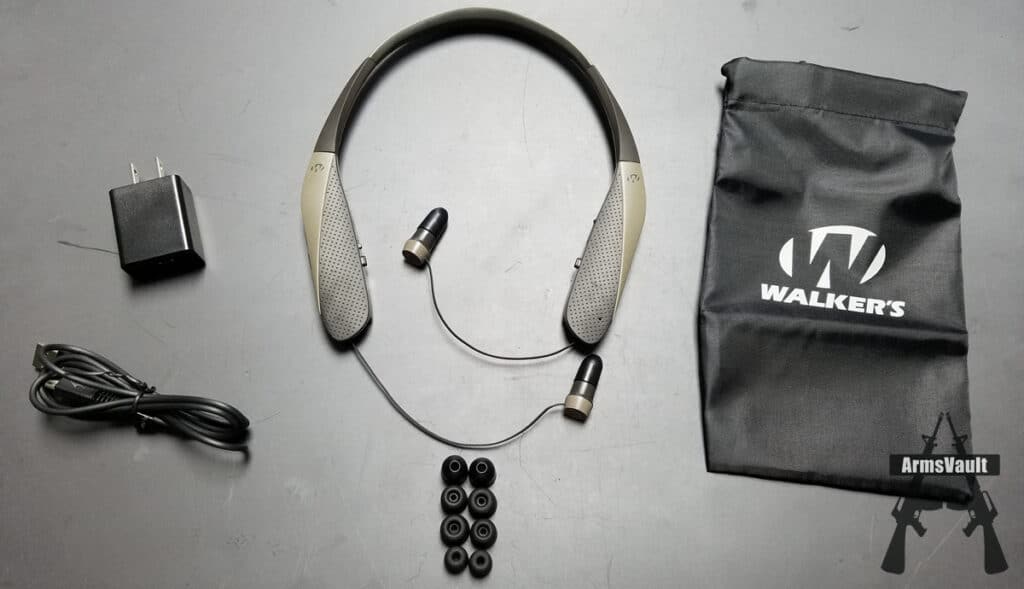
I recently received the new Walker’s Razor-X Ear Bud Headset for testing. For reasons that I can’t explain, I assumed it would require some sort of lengthy setup before being ready for use. Consequently, for the last week they have been sitting on the workbench, falling victim to my procrastination. Well, today I decided to take the plunge and get the Razor-X set up.
As it turns out, getting the Razor-X headset ready for the range is super-easy! That being said, there are a couple things you need to do to ensure you get maximum performance from the headset.
Most importantly, you need to determine which of the provided foam tips is the best fit for your ear canal. Keep in mind, the more the foam tips fill the ear canals, the better the hearing protection will be. So, try to select the largest foam tips you can comfortably use. Please note, following the proper procedure for inserting the foam tips is extremely important. See below for detailed instructions.
Charging the Razor-X is as simple as charging a cell phone. My initial charge only took about 20 minutes, however, it was already partially charged when I received it. I’ll have to report back once I find out how long it takes to do a full charge.
The next stop for my Razor-X headset will be the shooting range. Stay tuned for updates!
Walker’s Razor-X Ear Bud Headset:
- Item #: GWP-NHE
- Retractable Digital Ear buds
- 31dB NRR
- Sound Activated Compression (SAC)
- Powered by Rechargeable LIPO battery 250mAH battery for 10 hours of use.
- Hi Gain omnidirectional microphones for clear sound enhancement.
- HD speakers in the ear buds for wide range audio quality.
- Includes 3 pairs of 12mm foam tips (S/M/L) and two pairs of 16mm coated foam tips (M/L)
- Auto-Shut Off (low power mode) after 4 to 6 hours. Timer resets and unit wakes after any button is pressed.
- Integrated Micro USB port .
- AC wall adapter with USB port and included 1 meter micro USB cord for charging.
- Storage case Included
- More Info: Walker’s
Razor-X Fitting & Charging Instructions
Earbud Insertion Instructions:
- Compress tip by rolling between fingers
- Quickly insert tip in ear canal
- Twist to get into the ear canal as deep as it is comfortable for you to wear
- Hold in place for 10 seconds to ensure tip expands and seals in the ear canal providing you the maximum protection possible
Headset Charging Instructions:
- Slide the power switch to the OFF position.
- Open the Micro USB Connector cover and plug in the Micro USB cable to it and plug the other end of the cable into a USB power source or adapter.
While the device is charging the LED will be RED and remain constant ON.
When fully charged, the device’s LED will turn off.
